
Most thermostat troubleshooting starts and ends with three checks: swap the batteries, confirm the mode and setpoint, and check the breaker or furnace switch along with the air filter. Those four minutes of work resolve the majority of complaints homeowners bring to us. If the screen stays dark, the system ignores every setpoint change, or you spot scorch marks near the wiring, stop troubleshooting and call a licensed technician.
TL;DR:
- Most thermostat issues resolve quickly by checking and replacing batteries, verifying the mode and setpoint, inspecting the breaker and air filter, and rebooting the device.
- Troubleshooting should follow a sequence: power sources, settings, placement, wiring visually, and then resetting, with professional wiring jumps reserved for technicians.
- Discrepancies in temperature readings are usually caused by placement problems or sensor drift, not hardware failure, and calibration offsets can often correct minor issues.
- Signs of a faulty thermostat include unresponsive system controls, inaccurate temperature readings, and schedule resets, while HVAC failures involve no heating or cooling despite the thermostat’s operation.
- Immediate professional intervention is necessary when there are scorch marks, melting odors, tripped breakers, or visibly damaged wiring to prevent damage or safety hazards.
Table of Contents
- What Causes Most Thermostat Problems, and How Do You Check Them?
- How Do You Diagnose Thermostat vs. Wiring vs. HVAC Issues?
- Is the Thermostat Broken, or Is It the HVAC System?
- When Should You Call a Licensed HVAC Technician?
- How Do You Prevent Thermostat Problems From Coming Back?
- What Do 38 Years of Service Calls Teach You About Thermostats?
- How Do You Check and Replace a Thermostat's Temperature Sensor?
- Where Can You Find More Thermostat Troubleshooting Help?
- Why Most Thermostat "Failures" Aren't Actually Failures
- Sources
- FAQ
What Causes Most Thermostat Problems, and How Do You Check Them?
Six symptoms account for nearly every thermostat service call we get in New Mexico. Match yours to the list below, then run the matching check before you assume you need a new thermostat.
- Blank display: Usually dead batteries or a tripped breaker. Swap the batteries first; if the screen stays dark, check your electrical panel.
- No response to setpoint changes: Often a mode error (cooling selected in winter, for example) or a frozen touchscreen that needs a reboot.
- System runs nonstop: Points to a stuck relay, a schedule override left on, or a setpoint that's wildly off from room temperature.
- Short-cycling (on and off rapidly): Frequently caused by a clogged filter restricting airflow, though it can also signal a bigger HVAC problem.
- Inaccurate temperature readings: Almost always a placement issue: direct sun, a drafty doorway, or a spot too close to a supply vent.
- Forgotten or skipped schedules: Usually a dead backup battery or a software glitch on smart models.
Run these five checks in order: batteries, mode and setpoint, breaker and furnace power switch, air filter, then a full reboot. Most common thermostat problems, including dead displays and unresponsive systems, trace back to one of these simple fixes, and each check takes under three minutes.
How Do You Diagnose Thermostat vs. Wiring vs. HVAC Issues?
Work through this sequence in order. Each step rules out one cause before you move to the next, which keeps you from replacing parts that were never broken.
- Check power sources first. Replace batteries if your thermostat uses them, then check the breaker labeled "furnace" or "air handler" in your panel. If you have a separate outdoor disconnect for your AC unit, confirm it's fully seated.
- Verify settings before touching anything else. Confirm the mode (heat, cool, auto), compare the setpoint to the actual room temperature, and check for an active "hold" or vacation override that's blocking your schedule.
- Look at placement and calibration. A thermostat mounted in direct sunlight, above a heat register, or on an exterior wall will read wrong no matter how new it is. Placement errors are a commonly missed cause of thermostats that seem broken but aren't. Many models let you enter a calibration offset of a degree or two to correct a chronic misread.
- Inspect wiring visually, never physically. Look for loose connections, frayed insulation, or scorch marks at the wall plate. Smart thermostats typically need a dedicated C-wire for steady power; without one, some models resort to power-stealing tricks that cause flickering screens or dropped WiFi.
- Troubleshoot smart features separately. Restart the thermostat's app, reboot your router, and move the router closer if the unit keeps going offline; connectivity problems are usually WiFi-related, not thermostat failures. A factory reset (check your model's manual for the button combination) clears most software glitches.
Pro Tip: If your smart thermostat has been rebooted, updated, and still won't hold a connection, the C-wire is the first thing we check on a service call. It solves more "dead" smart thermostats than any other single fix.
One diagnostic step belongs to professionals only: jumping the R and W wires directly at the thermostat terminals. This confirms whether your HVAC system fires up on command, isolating the thermostat from the equipment. It's a reliable way to pinpoint the fault, but it means working with live low-voltage wiring, and a wrong connection can damage your control board. Leave this one to a technician.
Is the Thermostat Broken, or Is It the HVAC System?
Misdiagnosing this costs homeowners money on thermostats they didn't need. Here's how to tell which side of the system actually failed.
The thermostat is likely at fault when:
- The display works, but the system never responds to setpoint changes.
- Room temperature readings are consistently off, even after checking placement.
- Schedules or programs keep resetting or disappearing.
The HVAC equipment is likely at fault when:
- The system runs but produces no heat or cool air.
- The breaker trips specifically when the system kicks on.
- You notice burning smells, visible ice on the outdoor unit, or the system fails repeatedly even after thermostat checks pass.
If the signs point to the thermostat, keep working through the diagnostic steps above. If they point to the equipment, stop testing the thermostat and get a technician on the schedule.
When Should You Call a Licensed HVAC Technician?
Certain signs mean troubleshooting stops immediately, no exceptions:
- Scorch marks, melted plastic, or a burning smell near the thermostat or furnace.
- A breaker that trips every time the system tries to run.
- Wiring that's loose, disconnected, or visibly damaged.
- Short-cycling that continues after you've replaced the filter.
- No power reaching the furnace even after checking the breaker and switch.
Before you call, take photos of any error codes and the wiring at the thermostat's back plate, and jot down which checks you've already run. A technician who knows you've already replaced the filter and checked the breaker can skip the basics your service call fails to fix on its own and get straight to the actual diagnosis, which usually means less time on-site and a lower bill for you.
How Do You Prevent Thermostat Problems From Coming Back?
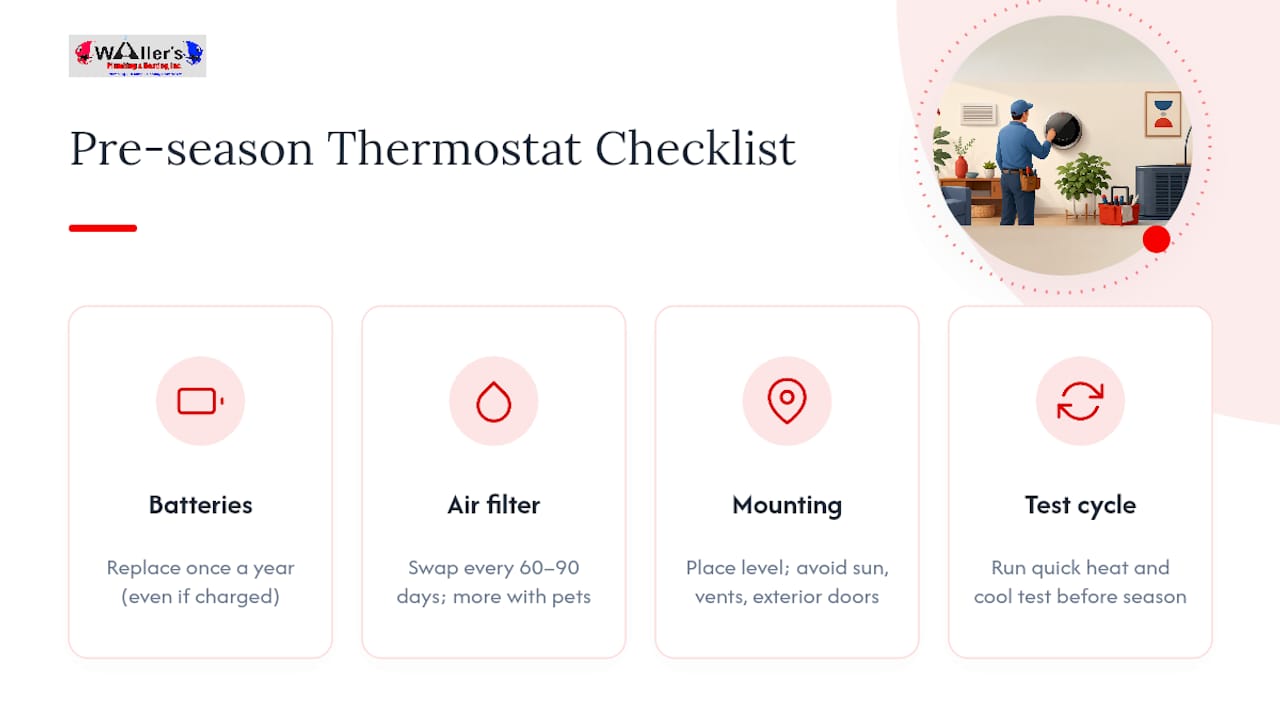
A few habits keep most of these problems from recurring. Replace batteries once a year, even if they still show a charge, since a mid-winter failure is never convenient. Swap your air filter every 60 to 90 days, more often if you have pets or run your system heavily.
Mount thermostats away from direct sunlight, supply vents, and exterior doors, and check that the unit sits level. If yours has a calibration offset setting, use it once you've confirmed placement is solid. If you're upgrading to a smart thermostat and your system lacks a C-wire, plan for a professional installation rather than forcing a power-stealing workaround.
Pro Tip: Run this five-minute checklist before each heating and cooling season: fresh batteries, clean filter, level mounting, and a quick test cycle in both heat and cool modes.
What Do 38 Years of Service Calls Teach You About Thermostats?
I'm Aaron Waller, General Manager at Waller's Plumbing and Heating, Inc, and after more than 38 years in HVAC and plumbing, I can tell you the wiring is where amateur troubleshooting turns expensive. A misplaced wire at the control board can cost far more to repair than the thermostat itself ever would.
Most calls we get for a "broken thermostat" turn out to be a filter, a breaker, or a setpoint someone bumped. When it really is wiring or equipment, we show up ready to work: no automated phone tree, no runaround, just a local technician who explains what's wrong and fixes it right the first time.
How Do You Check and Replace a Thermostat's Temperature Sensor?
A failing sensor produces the classic symptom of a thermostat that reads wrong no matter where it's mounted or how it's calibrated. Before assuming the sensor itself is bad, rule out placement problems first, since sun exposure or a drafty spot mimics sensor failure almost exactly.
To check a sensor, compare the thermostat's displayed temperature against a separate, accurate room thermometer placed nearby for at least 15 minutes. A gap of more than a degree or two, after ruling out placement, points to sensor drift rather than a location problem. Many thermostats include a calibration offset in the settings menu that corrects small drift without any hardware work.
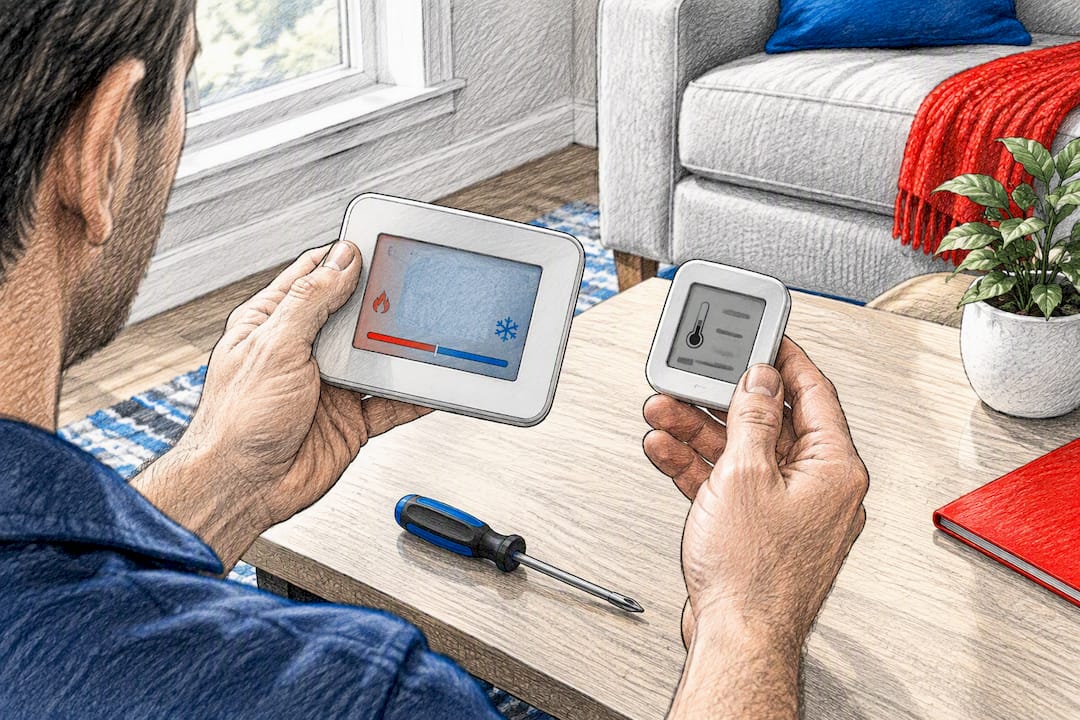
If the offset doesn't fix a persistent gap, or the reading fluctuates erratically, the sensor itself may need replacing. On older wired thermostats, this usually means replacing the whole unit, since sensors aren't sold as standalone parts for most residential models. Smart thermostats sometimes support external remote sensors that can be swapped independently, which is worth checking in your model's app settings before buying a full replacement.
This is also where a professional visit pays off. A technician can confirm sensor drift with calibrated test equipment in a few minutes, something a homeowner comparing two thermometers can't always do with full confidence, especially on borderline cases where the gap is small but real.
Where Can You Find More Thermostat Troubleshooting Help?
For model-specific wiring tests and advanced diagnostics, InspectApedia's thermostat diagnosis guide covers testing methods in detail. For manufacturer-specific error codes and reset procedures, check Carrier's thermostat troubleshooting resource or your unit's printed manual.
Why Most Thermostat "Failures" Aren't Actually Failures
The conventional advice on this topic buries the fast fixes under too much detail too early. Homeowners read a wall of wiring diagrams before they've even checked whether the batteries are dead, and that ordering backward is what sends people toward unnecessary service calls and unnecessary thermostat purchases.
My honest read, after decades of these calls: spend your first 15 minutes on batteries, mode, breaker, and filter. That covers the overwhelming majority of what walks through as a "broken thermostat." The next 15 minutes belongs to placement, calibration offset, and a factory reset if you're running a smart model. Wiring inspection comes after that, and only visually. The moment you're looking at a scorch mark, a tripped breaker that won't reset, or wiring that's loose at the plate, the smart move is picking up the phone, not the screwdriver. That's not caution for caution's sake. It's the difference between a $20 fix and a control board replacement.
If your troubleshooting points toward the equipment rather than the thermostat, our HVAC maintenance and installation team handles the diagnosis directly, without a call center standing between you and the person doing the work.
— Aaron Waller, General Manager
Sources
- Thermostat Not Working: Causes and Solutions - Trane®
- Thermostat diagnosis, wiring checks and thermostat testing - InspectApedia
- Common Thermostat Issues and How to Troubleshoot - Carrier
FAQ
What Are the Most Common Problems With Thermostats?
The most frequent issues are dead batteries, a tripped breaker, the wrong mode selected, or a thermostat placed somewhere it can't read the room accurately. On smart models, add WiFi drops and missing C-wire power to that list. Most of these are fixable in under 15 minutes without any tools.
Is There a Reset Button on a Thermostat?
Most thermostats have a reset option, though it's often a button combination or a menu setting rather than a dedicated button. Check your model's manual, since a factory reset varies between brands. Manufacturer guidance generally recommends trying a reboot before a full factory reset.
How Can You Tell If a Thermostat Is Going Bad?
A thermostat that's failing typically shows a blank screen even with fresh batteries, ignores setpoint changes while the display still works, or reads temperatures that drift noticeably from an accurate thermometer nearby. If the HVAC system itself runs fine when tested directly, the thermostat is the likely culprit.
How Do You Fix a Thermostat That Won't Communicate With the System?
Start with the basics: batteries, breaker, mode, and a clean filter, since a blocked filter can trigger safety shutoffs that look like communication failures. If those check out, inspect wiring visually for loose connections without touching live wires. A technician can safely run an R-to-W jumper test to confirm whether the thermostat or the system controls are at fault.